
Trezor Suite is the official software application developed by SatoshiLabs for managing your Trezor hardware wallet. It provides a secure interface for storing, sending, receiving, and tracking your cryptocurrencies. Unlike web-based wallet interfaces, Trezor Suite can be installed on your desktop or used as a web app, offering advanced privacy features, improved usability, and safer transaction management.
Trezor Suite bridges your hardware wallet and the blockchain. Your private keys never leave your Trezor device; Suite simply displays balances, generates addresses, and signs transactions securely. It supports many coins like Bitcoin, Ethereum, and tokens, and includes portfolio tracking and exchange integration.
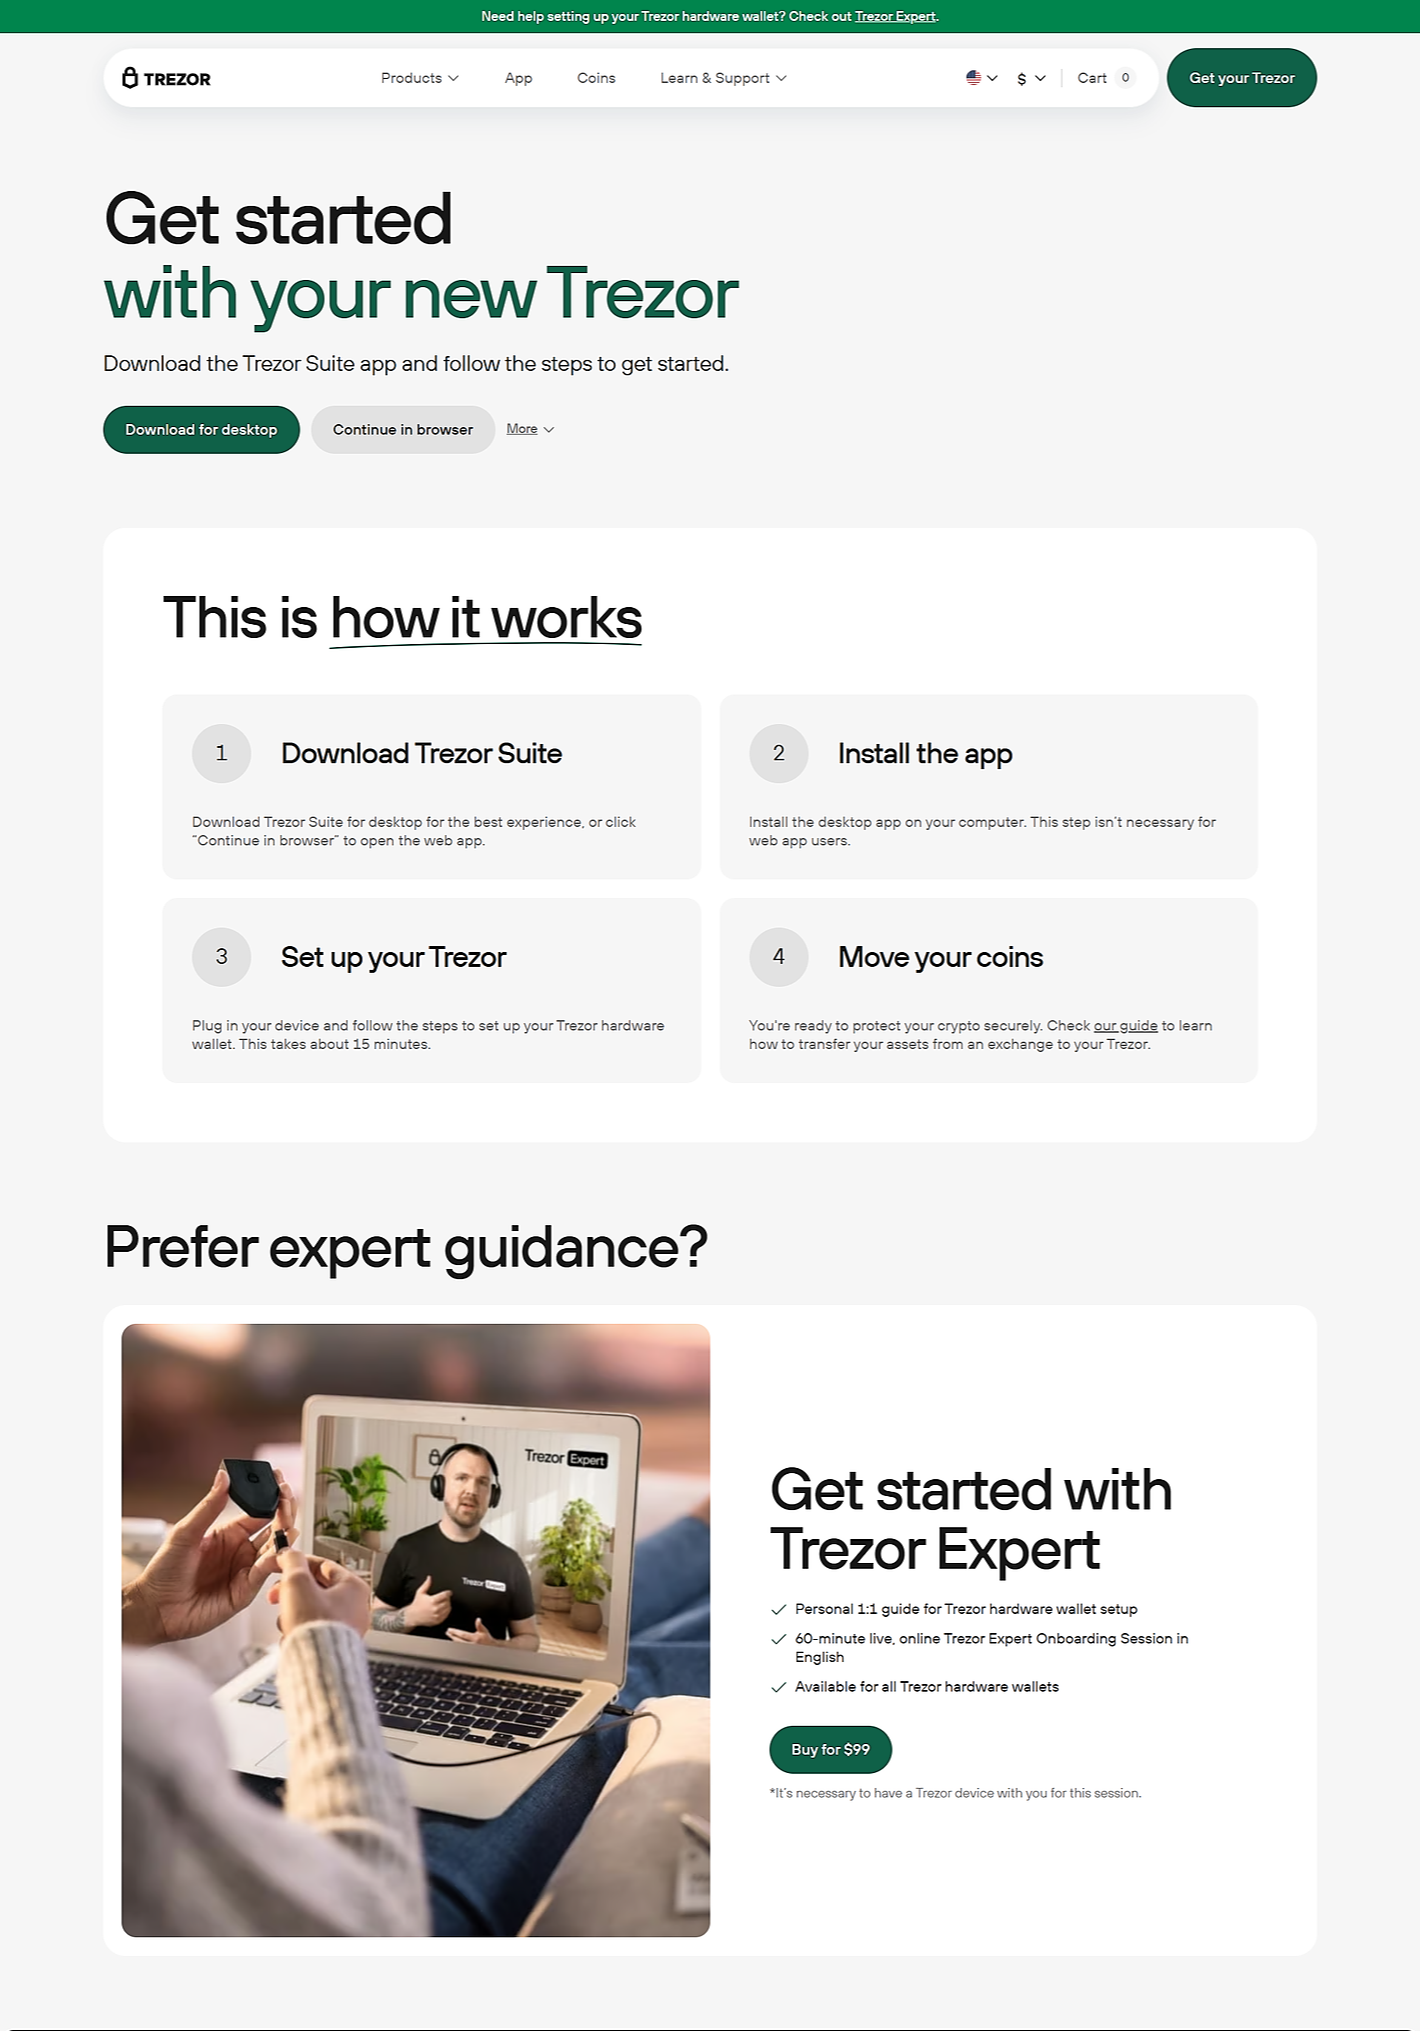
Visit suite.trezor.io to download the latest version. Choose the version compatible with your operating system: Windows, macOS, or Linux. Download directly from the official site to avoid phishing scams.
Run the downloaded installer file and follow on-screen instructions. After installation, open Trezor Suite. It will automatically check for the latest firmware updates for your Trezor device.
Plug in your Trezor Model T or Model One via USB. Unlock it using your PIN. If this is your first time, Trezor Suite will guide you through setting up the device, creating a new wallet, and safely backing up your recovery seed. Store your recovery seed offline and never share it.
Trezor Suite will detect your device. You may be asked to confirm the connection on the hardware wallet’s screen. Always verify the details on your device to ensure security.
Once connected, you can add cryptocurrency accounts. Click “Add Account”, choose the desired coin (e.g., BTC, ETH), and Trezor Suite will create an account for you. You can add multiple accounts for the same coin if needed.
To receive crypto, select the account, click “Receive”, and generate a receiving address. Verify the address on your Trezor device’s screen before sharing it. Copy the address or scan the QR code to receive funds securely.
To send crypto, click “Send”, paste the recipient’s address, enter the amount, adjust the fee if needed, and click “Review & Send”. Confirm the transaction details on your Trezor device’s display before approving it.
Trezor Suite includes a dashboard to track your portfolio’s value. You can also use the Buy, Sell, or Exchange features via trusted third-party partners directly within the Suite. This keeps your keys safe during swaps.
Keep Trezor Suite and your device firmware updated. Trezor Suite will prompt you for updates when available. Regular updates ensure compatibility with new coins and enhanced security.
For privacy, Trezor Suite offers features like Tor integration, Coin Control for Bitcoin, and labeling for better organization. Advanced users can use these tools for greater control over their transactions.
Trezor Suite is your all-in-one control center for managing crypto safely with your Trezor hardware wallet. By following these steps, you ensure that your digital assets remain secure and easy to manage, with full transparency and peace of mind.